


Three reindeer can still look flat when they are placed in a straight row or allowed to hide one another. A stronger arrangement starts with the view that matters most, then uses height, direction, separated silhouettes, and open space to make the buck, doe, and fawn read as one family scene. The steps below are flexible, so you can adapt them to the poses in your own set and the shape of your yard.

Start With the Main Viewing Direction
Before moving any reindeer, choose the place from which the display matters most. For many homes, that may be the street approach, the driveway, the front walk, or the view from the main entrance. Pick one as the primary view instead of trying to make every angle equally important.
Stand there and take a quick photo of the empty display area. The photo helps you notice the shape of the available space: wide, deep, narrow, angled, or partly divided by landscaping. You are not measuring toward a universal formula. You are identifying the visual frame your three figures need to occupy.
Now look at the actual poses in your set. Note which figure has the tallest outline, which heads turn left or right, and which body shapes appear widest from the primary view. Product designs vary, so the arrangement should respond to what you can see rather than to a diagram that assumes every buck, doe, and fawn has the same stance.
If you are still deciding whether three or four figures suit your yard, pause here and read the separate 3-piece vs. 4-piece reindeer family comparison. This guide begins after the three-piece format has already been chosen.
Use Height to Create a Clear Visual Hierarchy
Most three-piece family sets present three different visible heights. Use that difference to guide the eye instead of flattening the group.
Start with the figure that has the strongest or tallest visible outline. It can become the first shape a viewer notices, but it does not always need to stand in front. In some product designs, placing the tallest figure slightly behind the others preserves its outline while letting the group feel connected. In another design, the most expressive head position may make the doe or fawn the emotional center.
The goal is a clear reading order:
- one figure catches the eye;
- a second figure carries the eye across the group;
- the third completes the family relationship.
Step back to the primary view and cover one eye for a moment. If all three heads and bodies merge into one dense shape, change either the angle or the front-to-back relationship. If the figures feel unrelated, bring their directions into conversation rather than simply moving them closer.
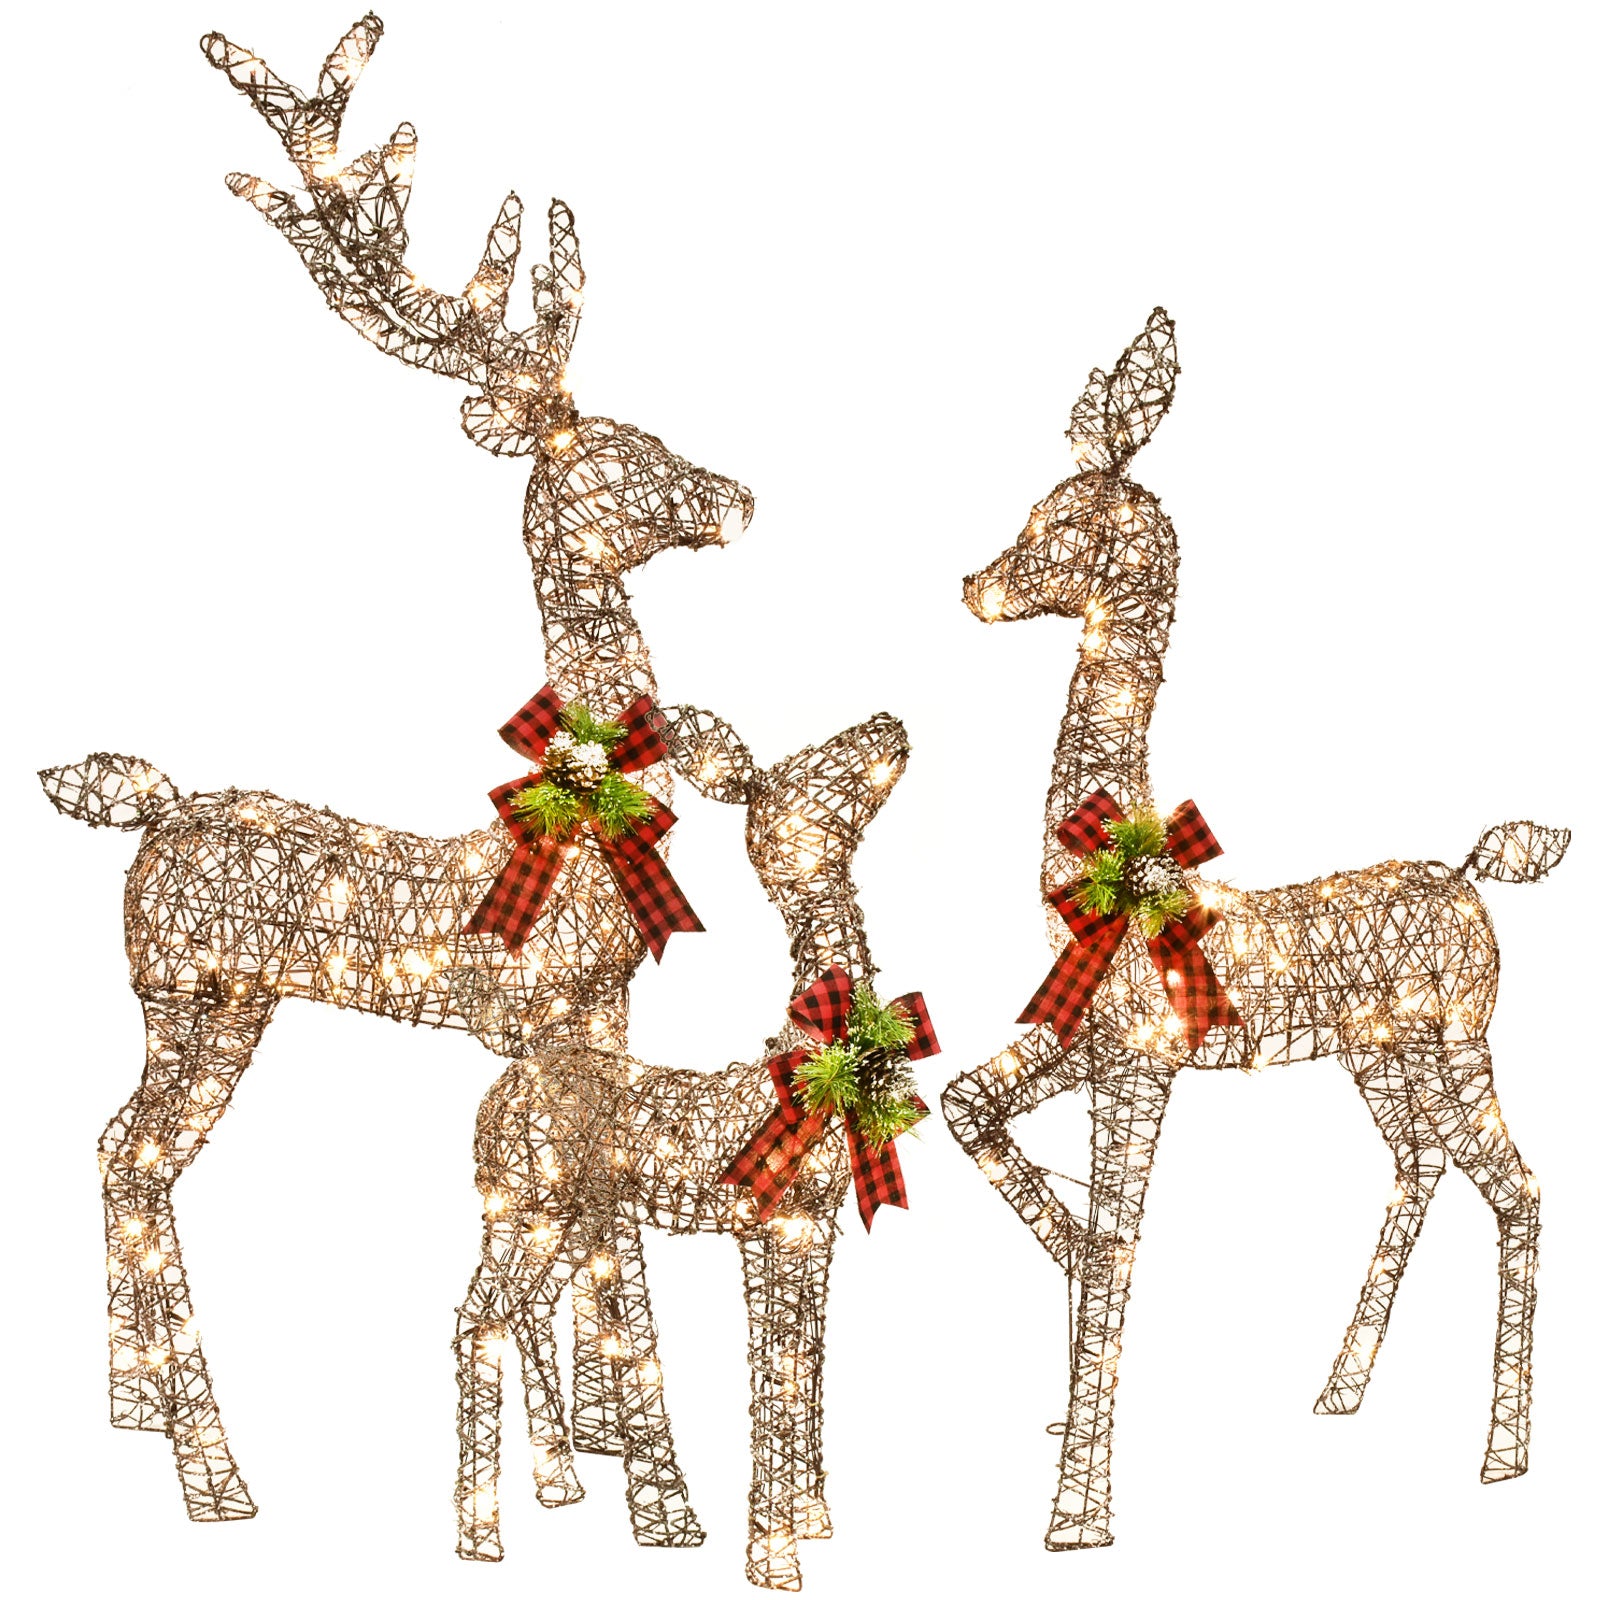
Turn Each Reindeer to Build a Family Story
Facing direction changes the story even when the figures stay in the same places. Decide what you want the family to appear to be doing, then test the visible head and body angles your product actually allows.
A shared direction
When all three figures generally face the same visual destination, the group can suggest movement through the yard. Keep a slight variation between them so the display does not feel like three copies arranged in formation.
An inward family moment
If two visible head angles naturally turn toward the group, use that relationship. One figure can look inward while another looks slightly outward, creating connection without closing the composition into a tight circle.
A lead-and-follow arrangement
One figure can establish the direction while the other two form a softer continuation. The lead does not have to be the buck. Let the real poses decide which outline can point the viewer forward most clearly.
Avoid forcing a story that the figures cannot show. If a head is fixed in one direction, treat that as a design input. Do not turn the whole figure so far that its body becomes difficult to read from the main view simply to make the head point toward another deer.

Keep the Three Silhouettes From Overlapping
Silhouette separation is more useful than a fixed spacing number. From the main view, check the outline of each head, antlers or ears, back, legs, and body. You do not need every edge to be isolated, but each reindeer should remain recognizable as its own figure.
Use this simple test:
- If one head disappears behind another body, adjust the angle or the front-to-back order.
- If the fawn seems visually attached to an adult figure, move it along the viewing line until a small opening appears between the shapes.
- If two sets of legs create a dark or tangled area, change the angle before changing the overall group position.
- If the figures read clearly but feel scattered, turn them toward a shared visual idea instead of immediately closing every gap.
Make one change at a time and return to the same viewing point. When several figures move at once, it becomes difficult to tell which adjustment improved the scene.
Use Negative Space to Hold the Group Together
Negative space is the visible opening around and between the figures. It is not wasted yard. It helps the viewer understand where one reindeer ends and the next begins.
Look for three types of breathing room:
- Inside the group: small openings that keep the silhouettes readable.
- Around the group: an outer edge that separates the family from other decorations or landscaping.
- In front of the group: a clear visual area that lets the family scene face into the composition rather than directly into clutter.
Too little open space can make the figures merge. Too much can make them look like three separate products. The right amount is the point at which each figure is readable while their head directions and height changes still connect them.
Do not rely on a universal distance. Figure widths, poses, yard shapes, camera angles, and surrounding decorations all change what the eye sees. Use the actual outline from your primary view, and follow the instructions supplied with your specific product for any installation requirement.
Try Three Flexible Layouts for Different Yard Shapes
These layouts are starting points, not fixed templates. Test them without committing to exact spacing, then adapt the order and direction to the poses in your set.
1. Open triangle
Place the three figures so their positions form a loose triangle from above. One figure sits slightly forward, while the other two create width or depth behind it. This can make each silhouette easier to read than a straight row.
Use the main-view photo to check whether the triangle is actually visible. A triangle that looks clear from above may collapse into a line from the street. Adjust the front-to-back relationship until the three outlines remain distinct.
2. Gentle diagonal
Arrange the visible heights so the eye travels gradually across the group. The line can move from the strongest outline toward the smallest, or it can rise toward the center. This layout can work well when the yard has a clear angled approach.
Keep the diagonal gentle. If one figure sits too far from the others, the family relationship disappears. Turn heads or bodies toward a shared direction to reconnect the line.
3. Family cluster
Use a closer visual relationship when the poses naturally face inward or toward a common point. The cluster should feel connected without stacking one figure directly behind another.
Preserve a readable opening between the most important silhouettes. If the group becomes dense, rotate one figure slightly or move it forward or back along the viewing line. The aim is a family moment, not a single mass of light and frame.
For help connecting the reindeer group to the rest of the yard, use HOYECHI's one-weekend front-yard decorating plan. That page owns the wider yard plan; this article stays focused on the three figures inside the group.

Check the Scene in Daylight and After Dark
Make one review while the unlit outlines are easy to see and another after dark, when the illuminated shapes may read differently. The purpose is not to judge brightness or product performance. It is to confirm that the same family relationship survives under two viewing conditions.
During the daylight check, ask:
- Can you identify all three figures from the main view?
- Does one figure unintentionally block another?
- Does the outer shape of the group feel balanced with the surrounding yard?
During the after-dark check, ask:
- Do the three figures still read separately?
- Does the eye move through the group in the order you intended?
- Does another nearby decoration compete with the family scene?
Take a photo from the same location during both checks. A smaller image often makes overlap and empty patches easier to notice. Adjust one figure, photograph again, and stop when the group feels clear rather than continuing to fill every open area.
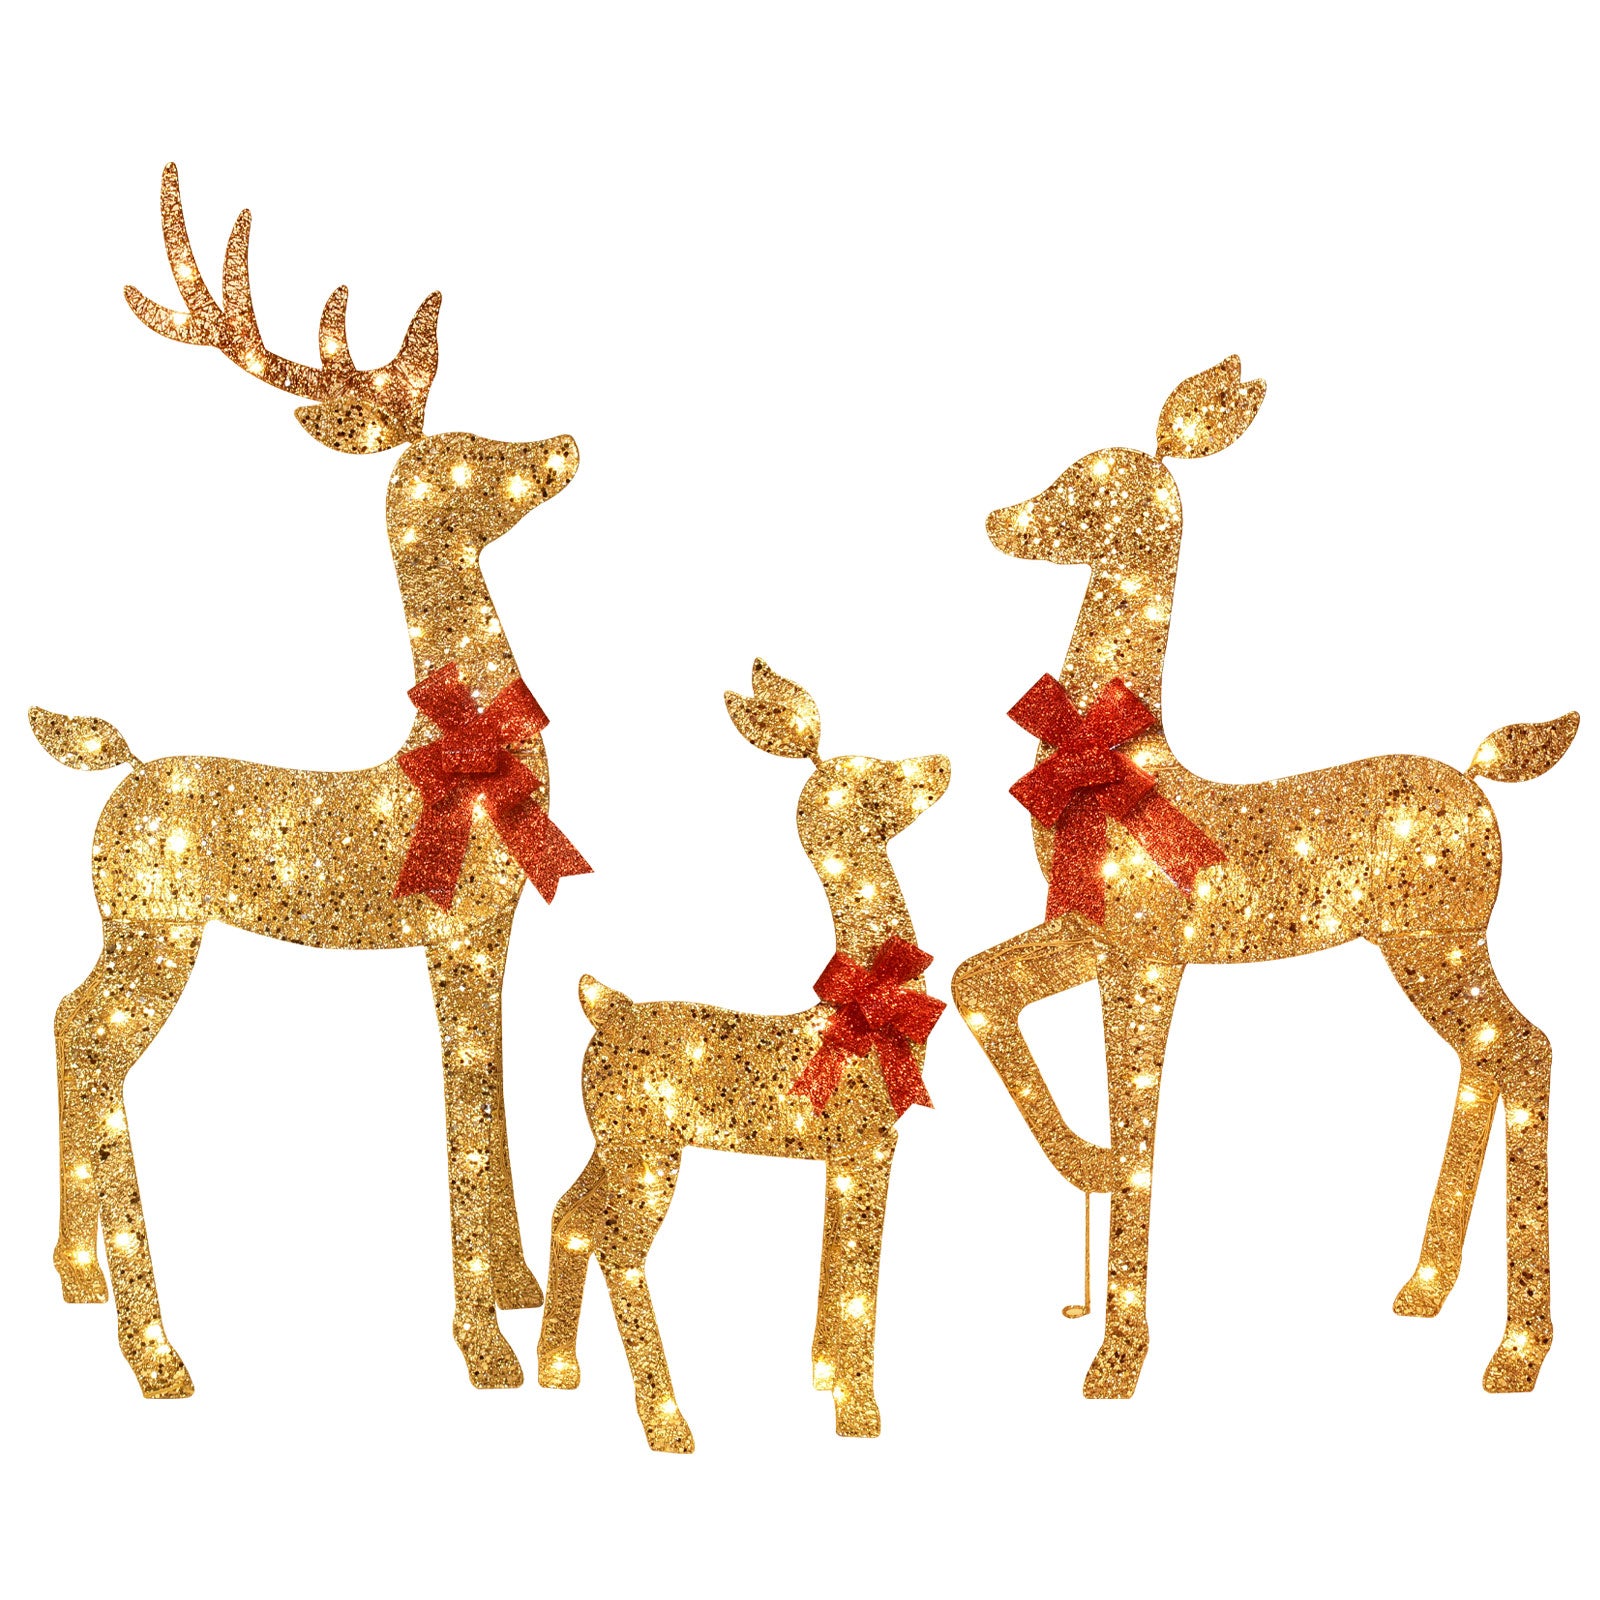
Explore HOYECHI Reindeer Family Sets
If you are choosing a set, begin with the visible poses in the product photos. Look at head direction, body width, height differences, and whether the three outlines can support the layout you have in mind. Confirm all current product details on the relevant page before purchasing.
You can browse the HOYECHI Christmas Reindeer Collection or view a current three-piece reindeer family product page. These links are for browsing; this article does not state availability, dimensions, materials, lighting specifications, weather suitability, shipping, returns, or installation performance.
Frequently Asked Questions
Should the buck always stand in front of the doe and fawn?
No. The buck can lead the composition, but the best order depends on the visible poses and your main viewing direction. A taller outline may read more clearly from slightly behind, while another figure may become the visual center because of its head angle.
Should all three reindeer face the same direction?
Not necessarily. A shared direction can suggest movement, while slightly inward angles can create a family moment. Use the poses your figures actually have and avoid forcing identical angles if that makes their bodies harder to read.
How do I keep a reindeer family from looking like a straight line?
Change the front-to-back relationship. Try a loose triangle, a gentle diagonal, or a connected cluster. Then return to the main view and make sure the change remains visible from where people will actually see the display.
What is the best way to create depth with three reindeer?
Place one figure slightly forward or back, then use height and facing direction to connect the group. Depth should make the silhouettes clearer, not hide one figure behind another.
How much space should I leave between reindeer decorations?
There is no universal number. Leave enough visible opening for each silhouette to remain recognizable from the main view, while keeping the head directions and overall shape connected. Use your product's instructions for installation requirements rather than treating visual spacing advice as a setup rule.
Final Check: Arrange for the View You Actually Have
A good three-reindeer scene does not depend on a perfect template. Choose the main view, let the real poses guide the story, use height to establish a reading order, and preserve enough open space for every silhouette to remain clear. Test one adjustment at a time in daylight and after dark. When the buck, doe, and fawn read as separate figures but one connected family, the arrangement is doing its job.


